Master Soft Homemade Flour Tortillas: Expert Tips & Quick Recipe
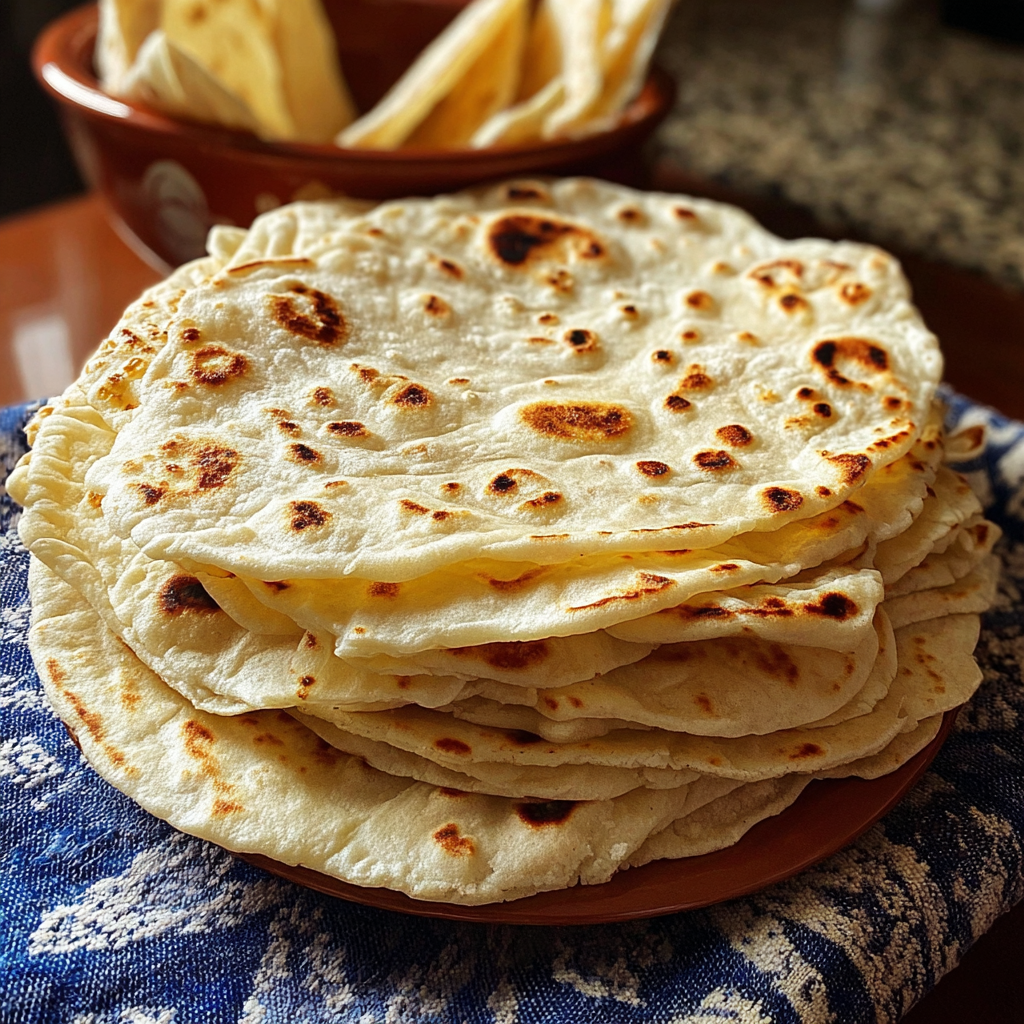
Imagine biting into a warm, soft, and impossibly pliable tortilla, perfectly browned with just the right amount of chew – a stark contrast to the often dry, crumbly, or rubbery store-bought versions. This isn't a culinary fantasy reserved for seasoned chefs; it's the reality of making *homemade flour tortillas*. What if we told you that this superior experience could be yours in just about 30 minutes, using only four basic ingredients? It's true. Once you discover the ease and incredible taste of freshly made *flour tortillas*, you'll never look back.
The journey to crafting the perfect tortilla is far simpler than many imagine. Forget the intimidation, the long ingredient lists, or complex techniques. This guide will walk you through everything you need to know, from selecting the right flour to mastering the roll and the flip, ensuring your *homemade flour tortillas* become a staple in your kitchen. From wrapping delicious burritos and soft tacos to serving as the base for quesadillas and chimichangas, the versatility and flavor of a homemade tortilla are unmatched.
The Magic Behind Perfect Homemade Flour Tortillas: Why They're Better
The secret to truly outstanding Mexican cuisine often lies in the quality of its foundation: the tortilla. While convenience is tempting, store-bought options frequently fall short, lacking the fresh flavor, tender chew, and elasticity that makes a tortilla truly exceptional. *Homemade flour tortillas*, on the other hand, offer an unparalleled sensory experience.
Why are they superior? It boils down to freshness and control over ingredients. When you make them yourself, you control the quality of the flour, the exact temperature of the water, and the precise moment they come off the griddle. This results in tortillas that are:
* **Incredibly Soft & Pliable:** They bend without breaking, perfect for wrapping hearty fillings.
* **Rich in Flavor:** The simple combination of flour, water, salt, and a touch of fat creates a subtle, wholesome taste that complements any dish.
* **Economical:** Made from inexpensive pantry staples, they are a budget-friendly option compared to premium store-bought brands.
* **Quick to Make:** Seriously, from mixing to serving, these can be on your table in half an hour. That's faster than a trip to the grocery store for a mediocre packet!
Beyond just taste, there's an undeniable satisfaction in creating something so fundamental and delicious from scratch. It's a culinary superpower that transforms everyday meals into something special.
Essential Ingredients for Your Best Homemade Flour Tortillas
The beauty of *homemade flour tortillas* lies in their simplicity. You likely have all the necessary ingredients in your pantry right now.
1.
All-Purpose Flour: The foundation of our tortillas. The reference context mentions "El Rosal" flour as an authentic choice, and while it certainly makes incredible tortillas, rest assured that any good quality American all-purpose flour will yield equally fantastic results. Look for unbleached varieties, which tend to have a slightly higher protein content, contributing to a good balance of chew and tenderness. Avoid specialty flours like bread flour (too much gluten, making them tough) or cake flour (too little gluten, making them fragile).
2.
Salt: A crucial flavor enhancer. Don't skip it! It balances the subtle sweetness of the flour and elevates the overall taste profile.
3.
Hot Water: This is a non-negotiable secret weapon. The water should be as hot as your hands can comfortably handle – not boiling, but definitely very warm. Why? Hot water helps hydrate the flour more quickly, promotes faster gluten development without excessive kneading, and results in a more pliable and tender dough. It's a game-changer for speed and texture.
4.
Vegetable Oil: A touch of fat is essential for tenderness and pliability. While the reference specifies vegetable oil, other neutral oils like canola or even a small amount of melted lard or shortening can be used for slightly different flavor profiles and textures. The fat prevents the dough from becoming too elastic and contributes to that desired soft texture.
With these four humble ingredients, you're equipped to create magic in your kitchen.
Your Quick-Start Recipe: Making Homemade Flour Tortillas in 30 Minutes
This streamlined recipe makes about a dozen 8-inch tortillas, perfect for a family meal or meal prepping. For an even deeper dive into achieving that perfect pliability every time, check out our guide on
how to ditch store-bought and make perfect tortillas for tacos, wraps, and more.
Yields: 12 tortillas
Prep time: 15 minutes
Cook time: 15 minutes
Ingredients:
* 2 ½ cups (300g) all-purpose flour, plus more for dusting
* 1 teaspoon fine sea salt
* 1 cup (240ml) very hot water (as hot as your hands can handle)
* 2 tablespoons vegetable oil
Equipment:
* Large mixing bowl
* Rolling pin
* Nonstick pan or cast-iron griddle
* Clean kitchen towel
Instructions:
1.
Combine Dry Ingredients: In a large mixing bowl, whisk together the flour and salt until well combined. This ensures the salt is evenly distributed.
2.
Add Wet Ingredients: Pour the very hot water and vegetable oil directly into the flour mixture.
3.
Form the Dough: Using your hands, mix everything together. Start by pushing the ingredients around until a shaggy dough forms. Continue mixing and gently pressing until all the dry bits of flour are incorporated and a soft, cohesive dough comes together. The texture you're aiming for is similar to Play-Doh – smooth, soft, and slightly yielding. If your dough feels too sticky, add flour one tablespoon at a time until it reaches the desired consistency. If it's too dry or crumbly, add water, also one tablespoon at a time.
4.
Gentle Kneading: Transfer the dough to a lightly floured work surface. Knead the dough quickly, about 10-12 times. This isn't a rigorous bread-style knead; it's just enough to smooth out the dough and develop a small amount of gluten, which is crucial for soft, stretchy tortillas that won't tear when rolled. Over-kneading will make them tough.
5.
Portion and Shape: Divide the dough into 12 equal pieces. The easiest way to do this is to roll the dough into a log and then cut it into 12 sections. Roll each piece into a smooth ball, then gently flatten each ball into a disc, similar to a thick hockey puck. This pre-shaping makes the final rolling process much easier and more uniform. Lightly dust both sides of each disc with flour and place them on a plate or baking sheet, covering them with a clean kitchen towel to prevent them from drying out while you heat your pan.
6.
Heat the Pan: Place a dry (no oil!), nonstick pan or cast-iron griddle over medium-high heat. Let it get nice and hot, but not smoking. A good way to test if it's ready is to flick a tiny bit of water onto it; if it sizzles and evaporates immediately, you're good to go.
7.
Roll the Tortillas: Take one dough disc. On a lightly floured surface, use a rolling pin to roll it out into an 8-inch circle. The key here is to roll evenly, applying pressure from the center outwards and rotating the dough frequently. Make sure to roll all the way over the edges to achieve uniform thinness across the entire tortilla. Aim for a super-thin tortilla that's almost translucent when held up to the light – this ensures even cooking and that desired soft texture.
8.
Cook to Perfection: Carefully place the rolled tortilla onto the hot, dry pan. Cook for about 60 seconds on the first side, or until you see small bubbles forming on the surface and the edges begin to firm up. Flip the tortilla and cook for another 20-30 seconds on the second side, or until beautiful golden-brown spots appear. The dry heat is essential for those classic char marks and for allowing the tortilla to puff up, indicating it's cooking through evenly. No oil is needed in the pan!
9.
Keep Warm: As each tortilla finishes cooking, immediately transfer it to a clean kitchen towel and wrap it up snugly. This traps the steam, keeping the tortillas warm and soft until serving. Repeat the rolling and cooking process with the remaining dough.
10.
Enjoy! Serve your *homemade flour tortillas* warm with your favorite fillings, or allow them to cool completely before storing.
Expert Tips & Troubleshooting for Flawless Homemade Flour Tortillas
Even with a straightforward recipe, a few insider tips can elevate your *homemade flour tortillas* from good to absolutely perfect. And if you're looking for the absolute fastest way to get these on your table, our
easy 30-minute flour tortillas with just 4 ingredients provides a streamlined approach.
*
The Critical Role of Hot Water: We've mentioned it, but it bears repeating. Using very hot water (but not boiling) is perhaps the most crucial tip for tender, pliable tortillas. It jumpstarts the dough's hydration and gluten development, minimizing kneading time and ensuring a wonderfully soft texture.
*
Don't Over-Knead the Dough: While some kneading is necessary to bring the dough together and smooth it out, excessive kneading will develop too much gluten, resulting in tough, chewy tortillas instead of soft ones. Stick to the 10-12 quick kneads.
*
Allow the Dough to Rest (Briefly): While this recipe is designed for speed, even a short 5-10 minute rest after dividing and shaping the dough balls can make rolling easier. The gluten relaxes, making the dough more pliable and less prone to snapping back.
*
Roll Evenly and Thinly: This is where practice makes perfect. Focus on consistent pressure and rolling over the edges to avoid thick spots. A thin tortilla cooks faster and has a better texture. If it's too thick, it might be doughy; too thin, it might be crisp.
*
The Hot, Dry Pan is Key: Resist the urge to add oil to your pan. *Homemade flour tortillas* are traditionally cooked on a dry surface. The dry, high heat is what creates those beautiful golden-brown spots and allows the tortilla to puff up, indicating it's cooking through properly and developing its characteristic texture.
*
Keep Cooked Tortillas Warm: As you cook each tortilla, immediately transfer it to a clean kitchen towel and wrap it tightly. This not only keeps them warm but also traps steam, which helps them stay soft and pliable. A tortilla warmer or even a slow cooker on a low "keep warm" setting can also be used if cooking a large batch.
*
Storing Leftovers: If you have any tortillas left (a rare occurrence!), allow them to cool completely before storing them in an airtight bag or container. They can be kept at room temperature for 1-2 days, in the refrigerator for up to a week, or frozen for several months. To reheat, simply warm them gently in a dry pan or microwave for a few seconds.
With these tips and our quick recipe, you're well on your way to mastering the art of *homemade flour tortillas*.
Embrace the Homemade Difference
Making *homemade flour tortillas* is a culinary skill that truly pays dividends. It transforms everyday meals, brings an authentic touch to your Mexican-inspired dishes, and offers a freshness and flavor that store-bought options simply cannot match. With just a few basic ingredients, minimal time, and a handful of expert tips, you can consistently produce soft, pliable, and delicious tortillas that will impress everyone at your table. So, ditch the packaged tortillas, roll up your sleeves, and experience the unparalleled joy of cooking fresh from scratch. Your taste buds will thank you!